IPHONEOGRAPHY: PAYING ATTENTION TO LIGHT
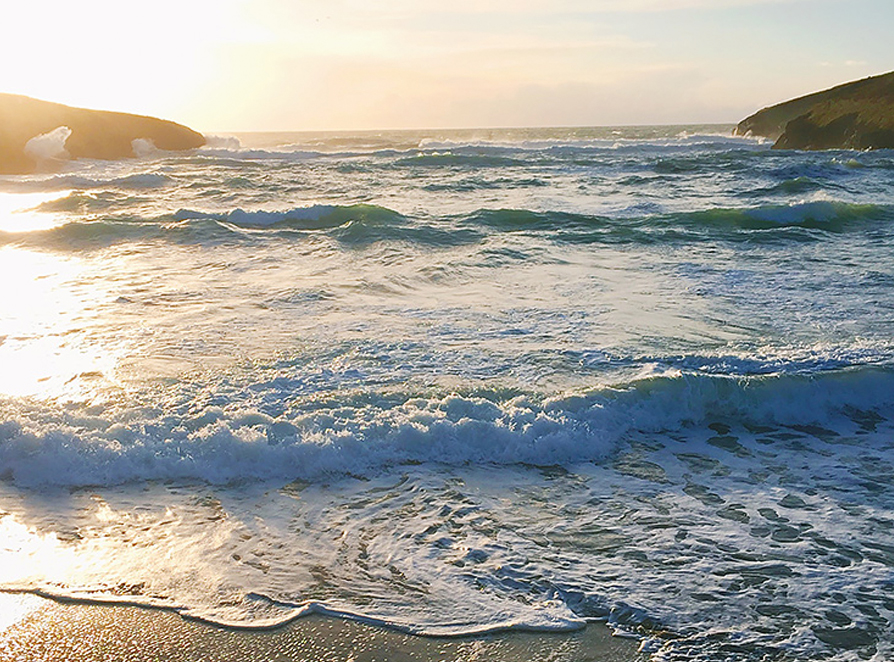
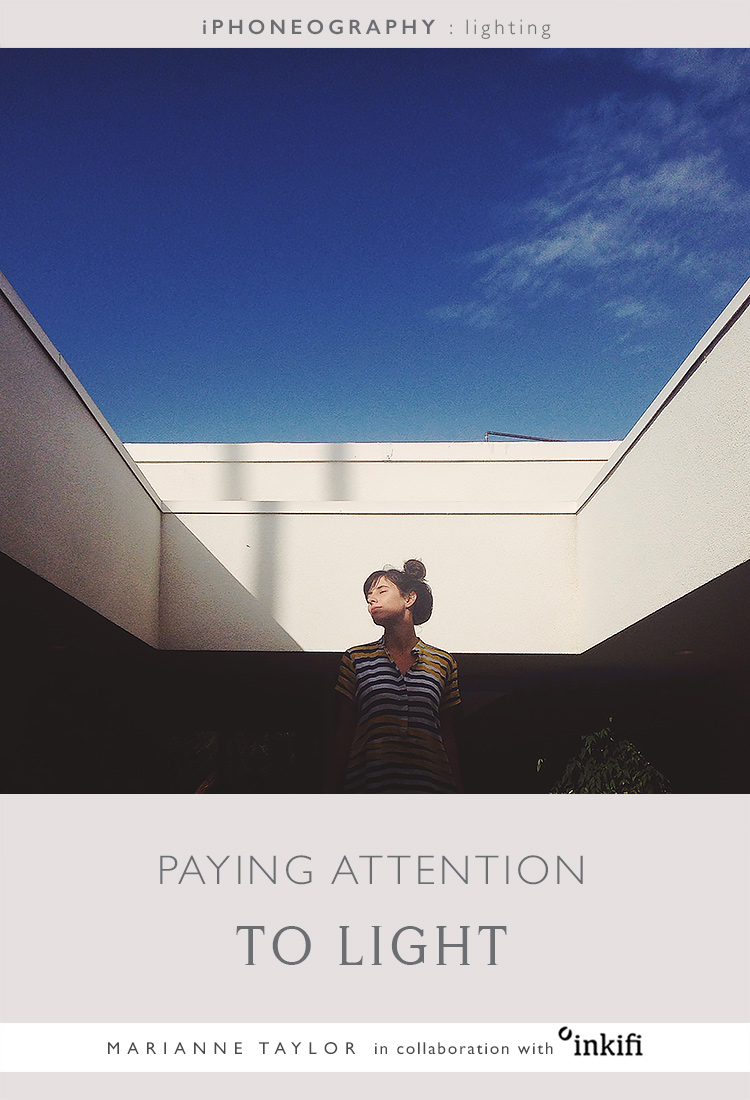
Hello again! I hope you've been really well and have had fun playing with the Rule of Thirds we talked about last month. Today we're jumping into the glowing world of light!
The word 'photography' stems from its Greek translation; drawing with light, thus understanding light is a fundamental piece of the photography puzzle. Whether you're shooting with a camera, or on your iPhone, it's crucial to pay attention to the light you have at your disposal, and learn how you can use it to enhance your images.

As far as your iPhone goes, it's good to get to grips with the exposure slider. When using the camera app you will get the slider to appear by simply tapping the screen when taking a picture. Using the slider is especially handy in tricky lighting situations, such as shooting against the sun, which can make the sensor of your camera go a bit bonkers. You're often a better judge on whether you want something in your image lighter or darker, so use the slider accordingly.
Below, we'll go through a few different techniques that will hopefully help you see new opportunities when faced with the most familiar lighting scenarios. Let's jump right in!
DIRECTION OF LIGHT
The first thing you should pay attention to, is the direction of light relative to your subject. If it's bright sunlight and you're outside, the direction is easier to identify as there will be strong shadows to one side of your subject. On a cloudy day it might be harder to spot the direction of light (which is why professional photographers tend to favour a slightly overcast day over a sunny one as it provides even light without harsh shadows), but even then, if you really look for it, you will be able to spot which ways the shadows fall, which tells you where about the sun is in the sky.
The light behind you
When you're shooting with the sun behind you, your subject will have the most amount of light falling on it. On paper, this seems like the obvious way to go every time, but it really depends on the harshness of the light and your subject matter. A midday portrait in full sunlight will produce ugly shadows under noses and chins for example, and later on, there will be a risk of your own shadow obstructing your subject, so you really have to be mindful about what works best for any particular situation.
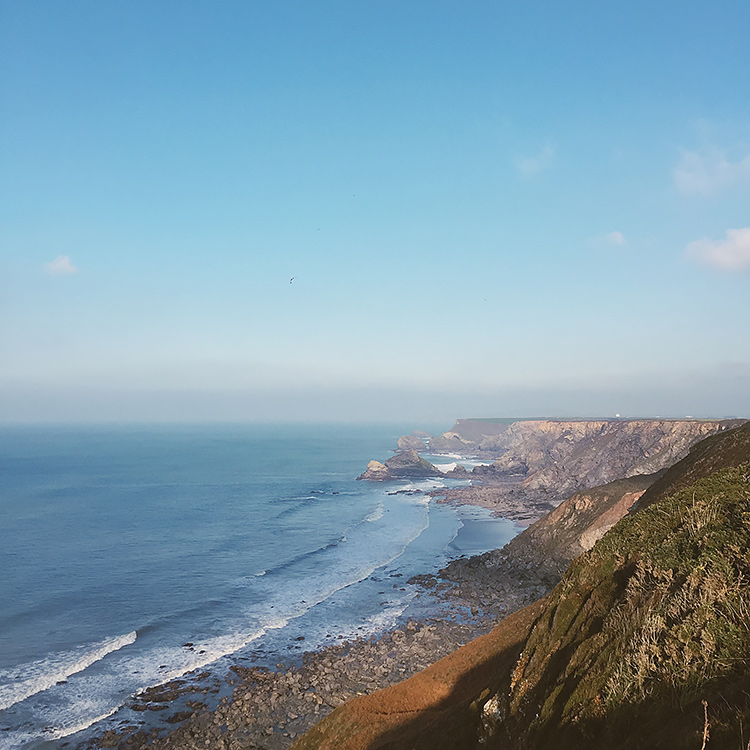
One instance where shooting with the sun behind you works most always is landscape photography. Shooting with the sun behind you will achieve a well-list scene, lots of detail in your landscape and clouds, plus beautiful blue skies if it's not overcast. Also, at sunset, having the sun behind you will bathe your scene with the most gorgeous warm glow.
The light to one side
If you're taking pictures of people, you will want to avoid the sun-straight-in-their-face scenario we discussed above. Usually, rotating your subject slightly will already help a lot. Having the light hit their face from one side will result in a lot more sculpted effect. If the light is very bright, you might end up with heavy shadows on the other side of the face, but this could also be used for good effect, adding some interest or mystery into your portrait.

If you'd rather have a more evenly lit face, make sure there's a bright surface, such as a white wall, on the shadow side of your subject as that will bounce some light back to the shadows on their face.
You don't have to think just portraits here. Having the light on one side whether your shooting buildings or even smaller objects, will often result in a more interesting image and allow you to play with the balance between light and shadow.
Into the light
If you've ever taken a beginner's course in photography you might have been discouraged from shooting into the light, especially if the light source is the sun. However, rules are there to be broken, and personally, I love shooting into the sun. It can create a magical glow and an otherworldly atmosphere, plus result in some gorgeous additions such as lens flare and artistic light leaks (which are often regarded as mistakes as well, but who cares when it's beautiful, right?). Shooting into the light is something that might confuse the sensor of your camera, so this is the scenario where you might want to use that exposure slider the most.
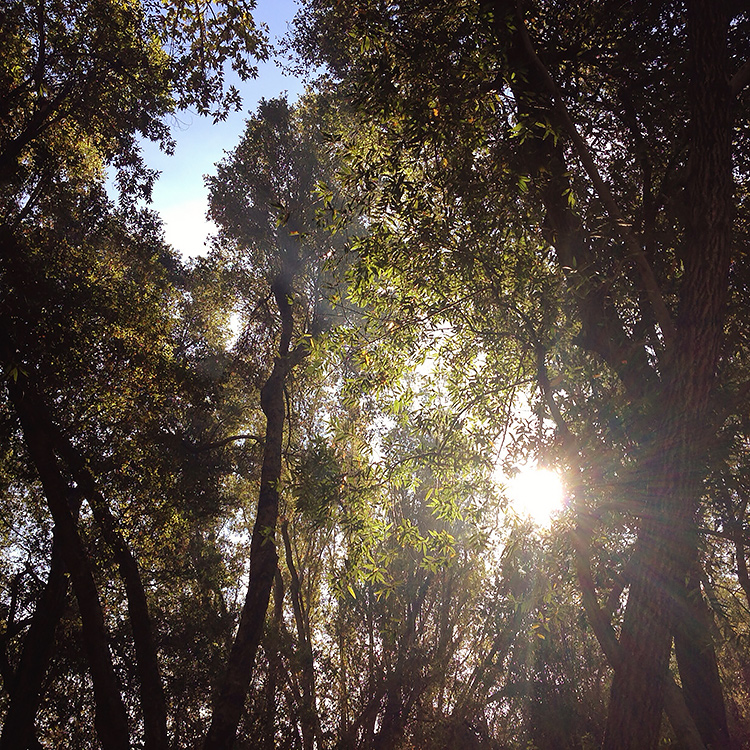
In the examples below we'll look at a few different ways you can make these variations in the angle of light work for you. Let's go!
CREATING SILHUETTES
When the sun is behind your subject, you can create quite a few exciting effects. One of the most popular ways to use backlighting is to create silhouettes. A silhouette is an image where your subject appears as a black shape against a much brighter background.
In order to create a silhouette, the sun or brightest part of the sky needs to be behind your subject. Around sunset is perfect for silhouettes as it will allow you to capture such rich, gorgeous colours in the background. Always set your exposure for the sky, making sure it's captured with beautiful colour and crisp detail, while the subject in the foreground (a person, a tree, a landmark, what even has a defined shape, really!) will appear completely black.

You'll have to pay attention to your composition and make sure there are no distractions behind your subject which might ruin the effect of the silhouette. Shooting from a lower angle usually helps with this as you can isolate the image to just your subject and the sky behind them. The image above has really two different silhouettes going, the couple and the London Eye, so it was important to make sure nothing weird was growing out of the heads of the couple which would have made the image confusing to look at. Also, shooting from a lower angle was crucial or the couple would have disappeared into tree branches.
You can also shoot a moving silhouette, say, a bird or a person dancing. The easiest way to do this is to shoot in burst mode. Once you've tweaked your exposure slider, simply hold the shutter button down and your iPhone will take a sequence of multiple shots. You can then select your favourite from the series of images. Remember to have patience, sometimes it takes many, many tries before you get the right shot!
REVEALING DETAILS
Going in the opposite direction with backlighting, you can create amazing images of translucent subjects when you photograph them against the light. This is a great way to make something that might look quite mundane to the naked eye appear completely magical in your images.
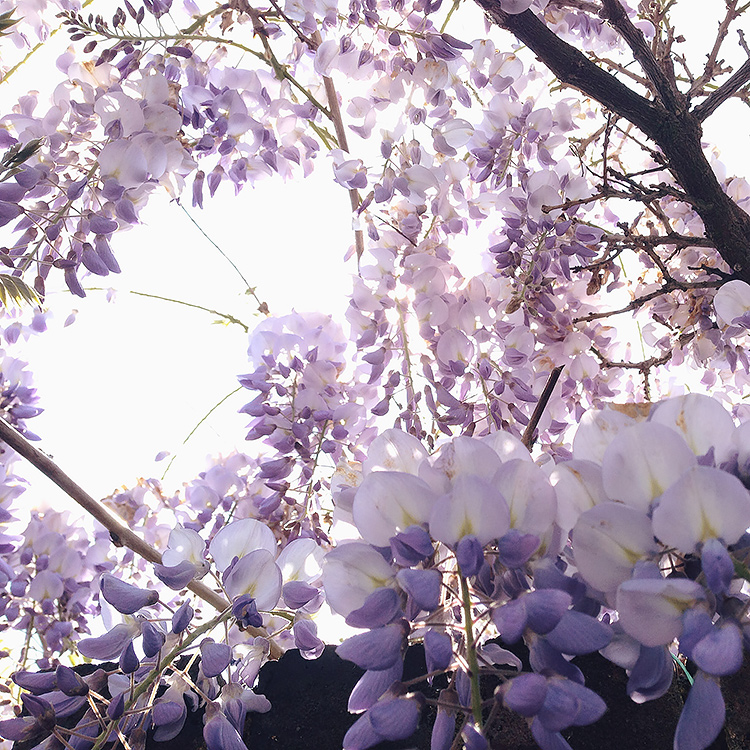
Anything from the delicate petals of a flower, or semi-transparent leaves of a bush, or even beautiful translucent fabrics such as tulle, work well for this. You'll have to go to the different direction with your exposure slider here, upping the exposure until your subject appears glowing and the delicate details are revealed. This often means your background will be rendered white, so make sure you compose your image in a way that it doesn't matter.
If you want to use this effect on a bigger scale, try it in a forest, making the leaves of trees glow, revealing their translucent quality with magical light shifting through.
CAPTURING RIM LIGHT
You know when you see a beautiful glowing edge or outline of light around your subject? That's called a rim light and it can really add some class to the proceedings, and make especially portraits stand out by beautifully separating your subject from the background.
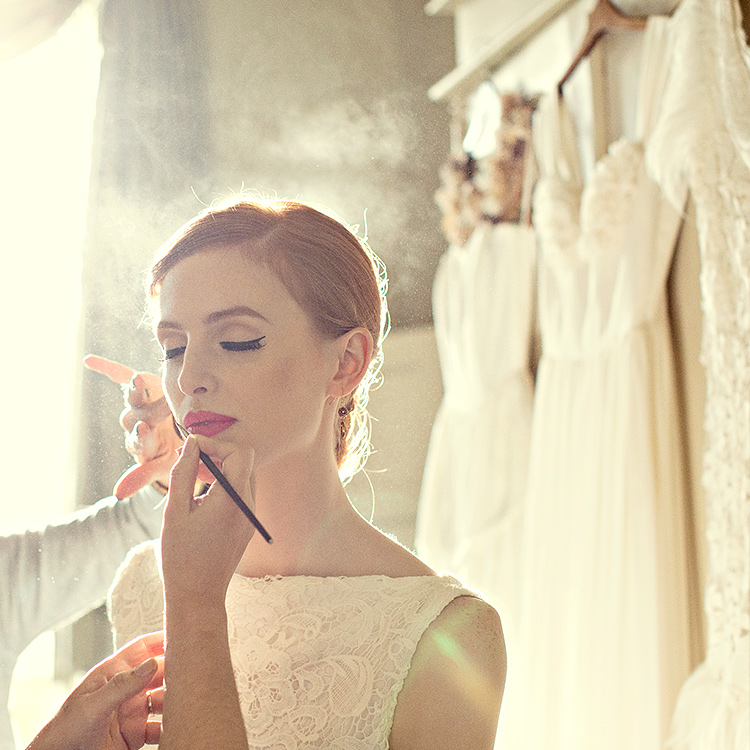
In order to capture rim light, you have to make sure that the light source is behind your subject, but also that there is a darker surface right behind where you want the rim light to appear. For example, sunlight might be streaming from a window behind your subject like in the image above. Simply by changing the angle slightly, so that there's a curtain right behind the head of the model, makes the rim light appear. It can take a bit of experimenting to find the right angle, but if you just keep in mind that the only way a rim light will appear is against something darker you'll be on your way to finding it faster.
MAKING LENS FLARE WORK
One of the trickiest things about backlighting your subjects, especially in bright sunlight, is that lens flare can become a problem and ruin your photos. Understanding how lens flare appears will help you control it, and allow you to use it as an artistic effect.
Lens flare occurs when strong light hits the lens of your camera and scatters through the optical elements. The results can be blobs or streaks of light across your photo, which can degrade the quality of your image by over-exposing it or stripping it off all contrast. If you want to avoid lens flare completely you can simply shade your lens from the light with your hand (making sure it's not in the picture!), or by standing in the shade when you take your image.
Personally, I love lens flare and use it quite often to add a bit of magic to my images. It can take a bit of time to master, but once you do, lens flare can be a really effective creative tool that will help you add drama or a nostalgic mood to your images.
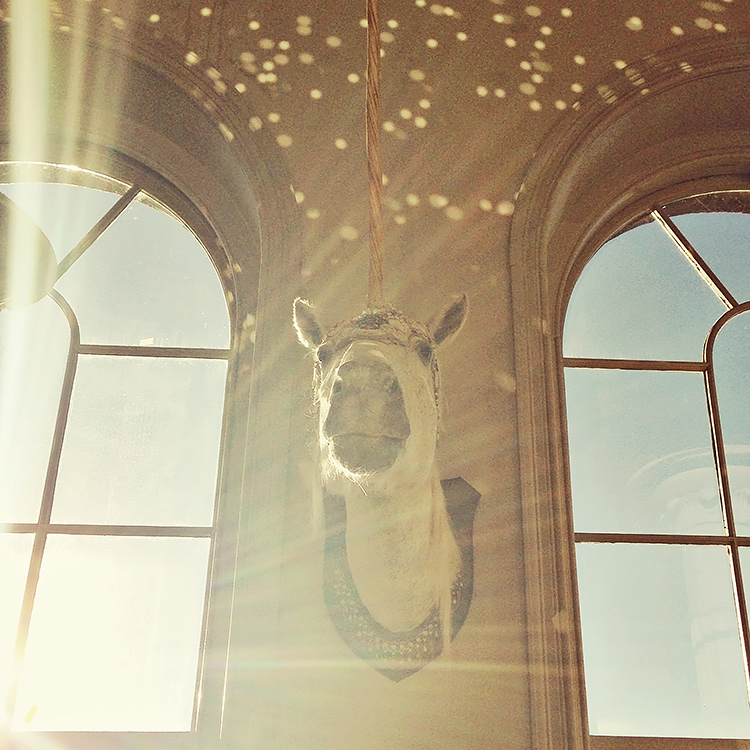
The main thing you have to learn to control is the amount of light you let hit the lens. There are many ways for controlling this, such as having some tree branches or other objects in front of the sun that will help with not having too large over-exposed areas. Also, the more you practise, the more you'll become aware of how even the slightest change in your angle when shooting makes a big difference to the amount and shape of your flare.
Sun flare always works better later in the day when the sun is lower and can be positioned behind your subject. Having said that, you can make midday sun work as well, but you'll have to be a bit more clever with what you can use to filter the light, such as shooting in a wooded area, or having some passing clouds you can use as a filter letting the sun streak from the edge. If you really want to add a magical quality, try this technique when there's fog around. If you catch the right conditions it can result in some truly gorgeous imagery as the rays of sun travel through the fog.
SHADOWPLAY
The human eye tends to find contrast visually exciting, so using shadows in your photography can be a very effective way of creating dramatic and interesting images.
You'll need to have a strong light source, such as bright sun, or strong artificial light, in order to capture shadows. Keeping an eye out for changing lighting situations, and how they affect your environment will allow you to spot opportunities even in mundane scenes. Suddenly, when the sun comes out and the shadows appear, a boring corner of the home can take on a new magical life.

Whenever you're out and about in sunshine look out for interesting shadows being cast by trees, buildings, windows, and any interesting objects. Keep an eye out for any patterns the shadows create and how you might use them to create an image.
Remember, you don't have to include the actual object in your image, interesting shadows can be the subject themselves. You could also think of ways you could photograph a well-known subject with using just the shadows it casts, which would make sure that your image is truly unique.
CATCHING REFLECTED LIGHT
You can find reflected light everywhere around you, from water, windows, puddles, mirrors, surfaces of buildings etc. Reflected light can be used to fill in shadows on your subject, but also as a subject in its own right. Different reflections will create different patterns you can use to an artistic effect.
Using reflections can create a surreal experience for the viewer, as they won't instantly recognise what's going on, and will spend more time deciphering and interpreting your image.
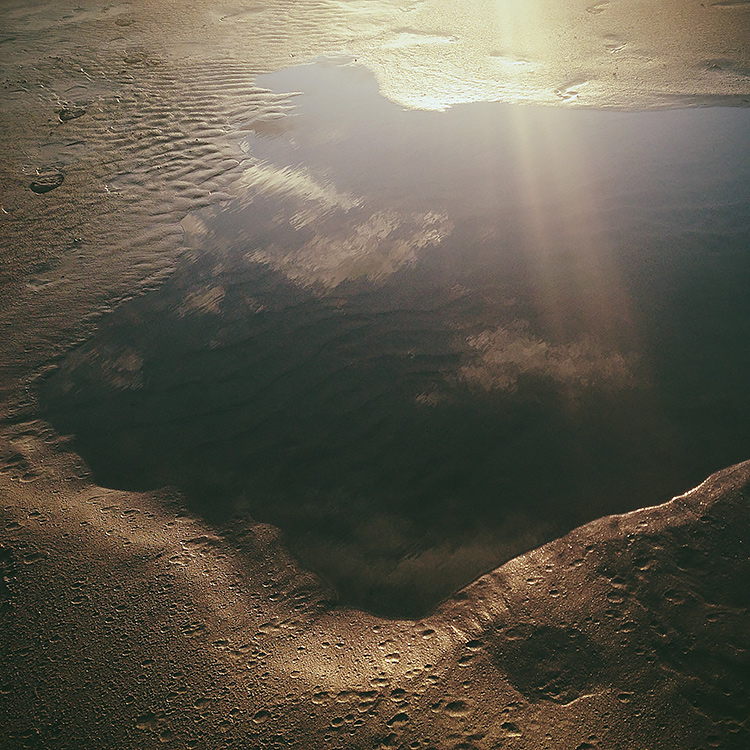
Look for puddles left by heavy rain and see if they will reflect the light in the sky or another interesting scene. You could even create an alternative universe by flipping your image around and making the reflection the main scene.
When you're photographing images with water, such as oceans, rivers, or lakes, pay attention to how the light and sky is reflected from the water. See if you could use these reflections to create more interest for your image. Get even closer and make water reveal its jewel-like quality when the sunlight is reflected on droplets.
MAGIC OF THE GOLDEN HOUR
You know those images you see from professional photographers where the model looks all gorgeous and ethereal, bathed in golden light while the scenery takes on almost a fairytale quality? Well, the one thing those images have in common is utilising the so-called "golden hours" of light.
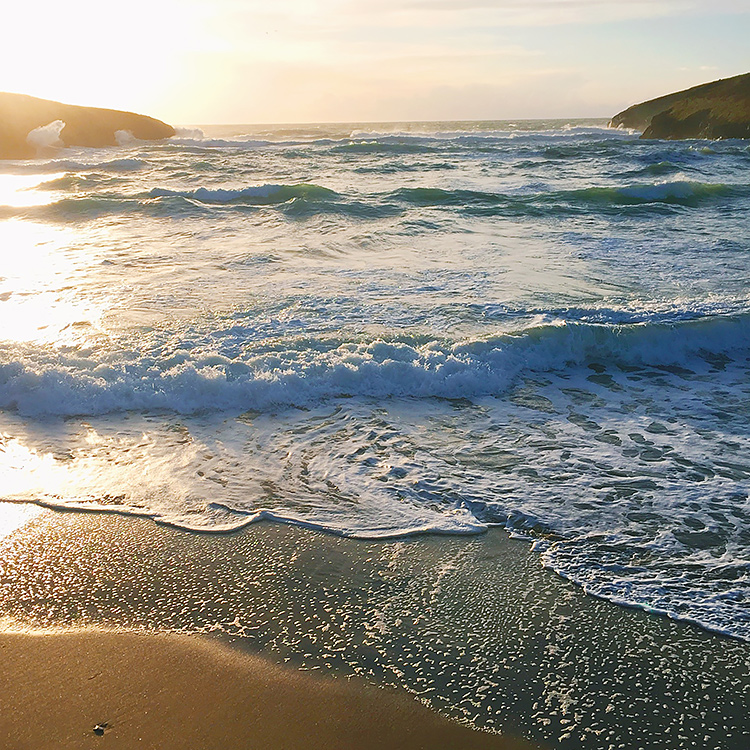
The golden hours are generally considered to be the first hour after sunrise, and the last hour before a sunset. This is when the sun is low in the sky, giving out a golden glow, and when everyday scenes take on that slightly magical quality. The golden hour is also the best time for using backlighting, because the sun is low enough not to overpower the image, instead making it easier to utilise all the backlighting techniques we talked about above.
If backlighting your subject at the golden hour, you will still be over-exposing the sky, but because the sun is less strong than in the day the sky doesn't go completely white but gets left with a hazy glow. If you're shooting a backlit golden hour portrait, you might want to add a bit of light to your subject's face by using either a natural reflector or a small hand-held reflector, which will make it easy to reflect some of that magic light back towards their face, making sure you record as much detail as possible.
MAKING THE MOST OF HARSH LIGHT
My love of taking softly glowing backlit images is no secret, but I do enjoy looking at work by people who are great at utilising harsh light to their advantage by producing bold and striking images.
High contrast can work very well if captured with intention. Sometimes even images with clearly over-exposed and under-exposed areas work, simply because there's something dynamic and interesting about the way they are composed. There's an intent behind the shapes they make.
Pictures taken in harsh light often tend to work well in black & white. There's something about a B&W photo that makes that high contrast make sense and lets the light and dark dance together without the distraction of colour.
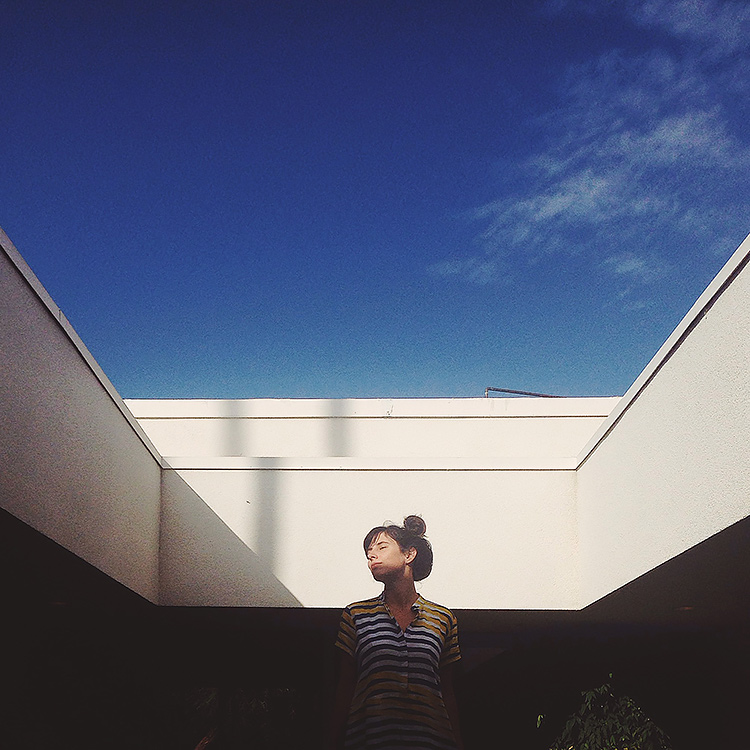
If you feel a pull towards a more contrasty kind of imagery, look for harsh sunlight that creates bright highlights and dark shadows, paying special attention to the kind of patterns they create together. Explore alleyways and cityscapes, and anything with lots of texture and solid, well-defined shapes. Avoid shiny surfaces and large light expanses of scenery or fabric.
DON'T DISMISS ARTIFICIAL LIGHT
Available light and natural light are often used as interchangeable terms, but it's good to keep in might that there's more to available light than just the sun. Don't dismiss artificial light sources such as street lamps, candles, car headlights, indoor lighting, iPad or computer screens. Anything that creates light without you specifically creating it is still available light and can be put to use for your photography.
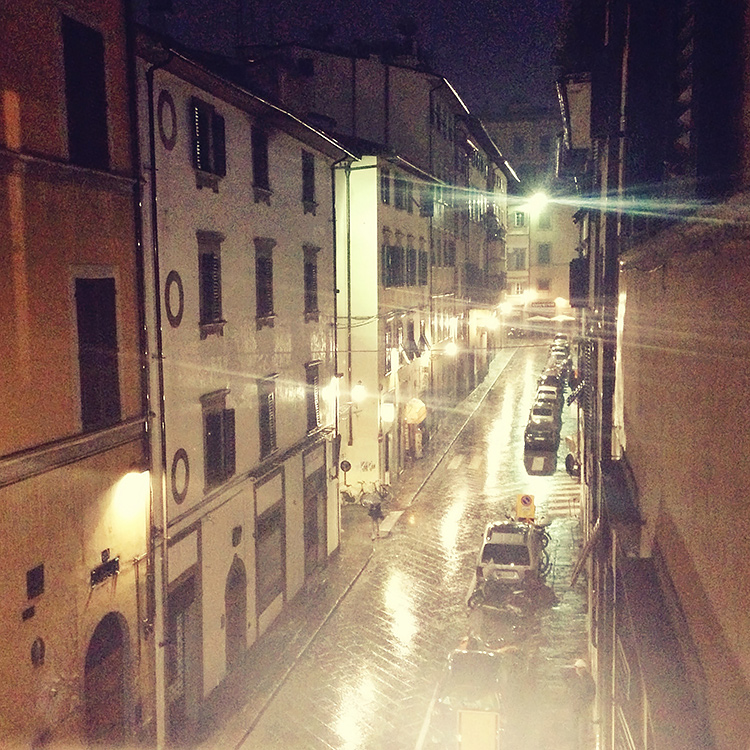
In the above image, the combination of streetlights and the reflected light from the rain-soaked surfaces really makes this Florence street scene have a cinematic quality.
The thing to remember with artificial light is that it will always cast a colour in your images because the temperature of the light differs from natural light. Your iPhone handles this with varying degrees of success, but you might need to tweak the white balance of your image afterwards with an editing app to get rid of an unwanted colour cast. There's also the option of going b&w if the white balance is hard to fix.
FINAL TIP
Whether you're shooting outside or inside, whether you're using natural, available or artificial light, a good rule of thumb is never to include your main light source in the photo. The only exception would be if you are shooting a sunset or anything else where you want the light source itself to be the star of the show.

In most other occasions, your image will generally look more interesting and polished if you do not reveal your light source. When shooting into the sun, keep the sun behind your subject or a tree branch, or just out of the frame. When shooting inside, don't reveal the spotlight illuminating your subject.
As said, rules are made to be broken, but this one tends to not fail when wanting to create more professional-looking images and photo prints.
And there we have it, we've come to the end of our time together today. If nothing else, I hope this article makes you pay more attention to the light, and how to make it work harder for you, next time you're about to push the shutter button!
