Creating the Perfect Photo Book with Xanthe Berkeley
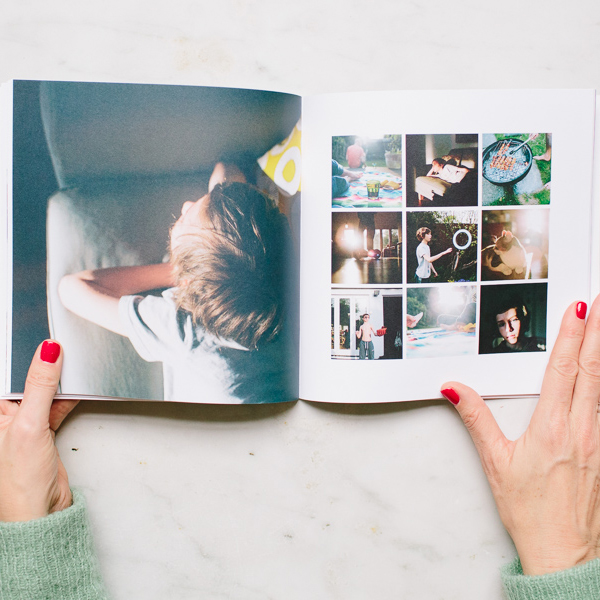
We have teamed up with Xanthe Berkeley to share with us some great tips on how to create a perfect Photo Book, that has the potential to last a lifetime.
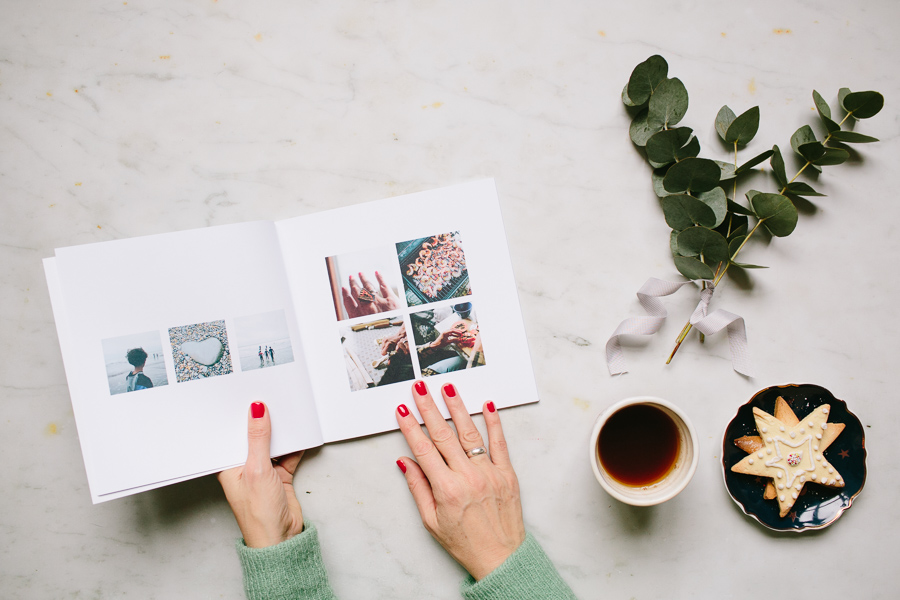
I'm such a believer in getting photos off devices and out in the world to be enjoyed. I love stacks of photos of random memories, special moments framed and placed on a wall and collections of images in albums & scrap books. This year has whizzed by, so I've not been printing as regularly as I'd like, so that's why putting together a printed book of my favourite visual memories seems even more important.
If you're thinking of creating an annual photo book - here are a few tips.
Just start
Putting a photo book together can feel like such a daunting project. Often we don't begin because it seems like it will take too long. So break it down into manageable parts.
Choose the time frame of your book
Ask yourself¦ will your book contain photos from the whole year or one occasion or trip?
Gathering your photos
Once you've decided your timeframe, you'll have to find your content. If the book is going to be the whole year, go through each month at a time. You could do this over a few sittings, if it feels too overwhelming to sort through a years worth of photos, at once.
The selection process
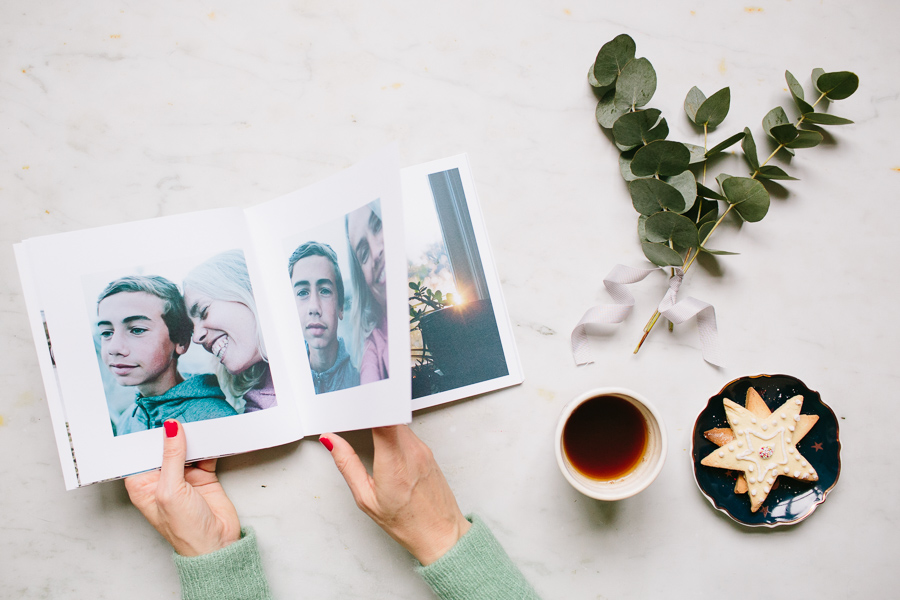
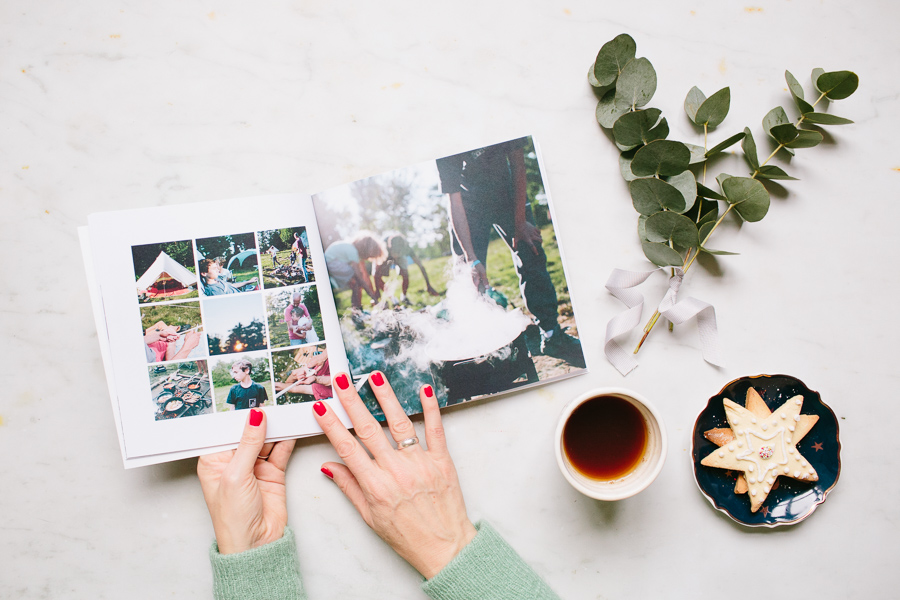
- I created my book with a collection of photos from the summer months. I suggest picking a mixture of your favourite shots and ones that bring back memories of that time... if they do both, then that's a bonus! Also, pick some extra photos, just fill in any missing gaps on some of the spreads. Some pages have the option to create groups of photos, this is where they might come in handy.
If you're using Instagram to choose your photos, the same applies - choose more than you think you'll need, as it's great to have a choice!
Preparation is key
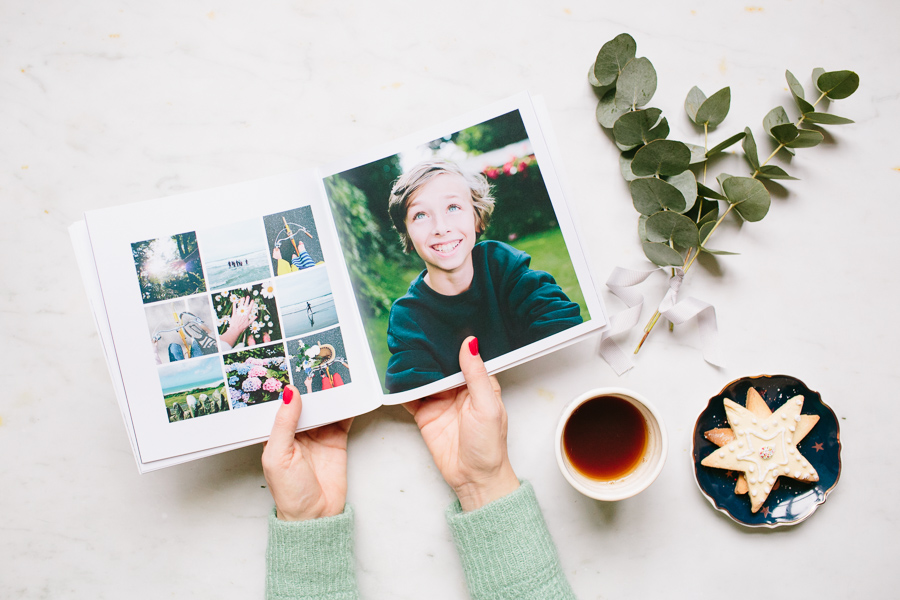
Getting all the photos ready before you start, makes the creation of the book much easier. Make sure they are the highest resolution image you have, so they look their best when printed.
Let's begin
You're ready to start putting together your book. This is the fun bit!Â
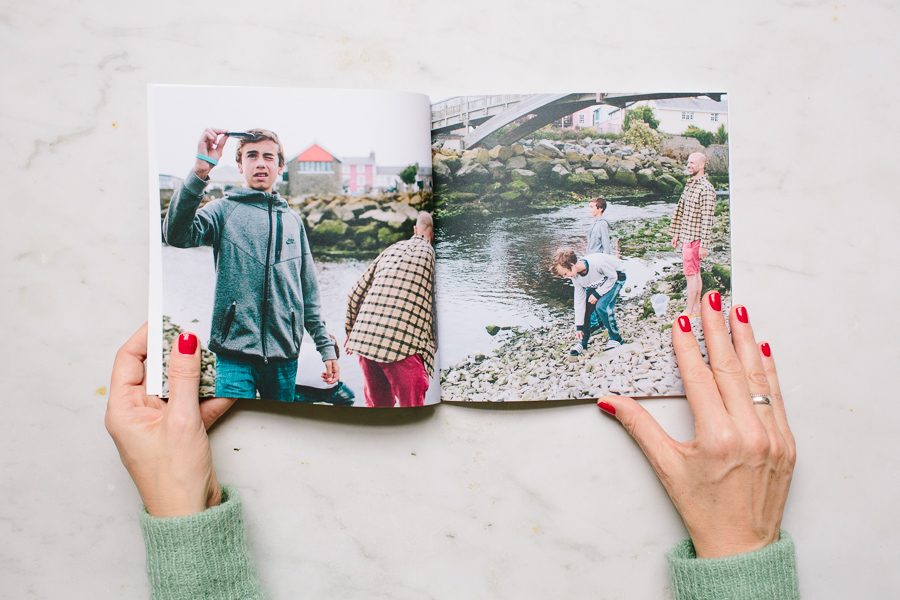
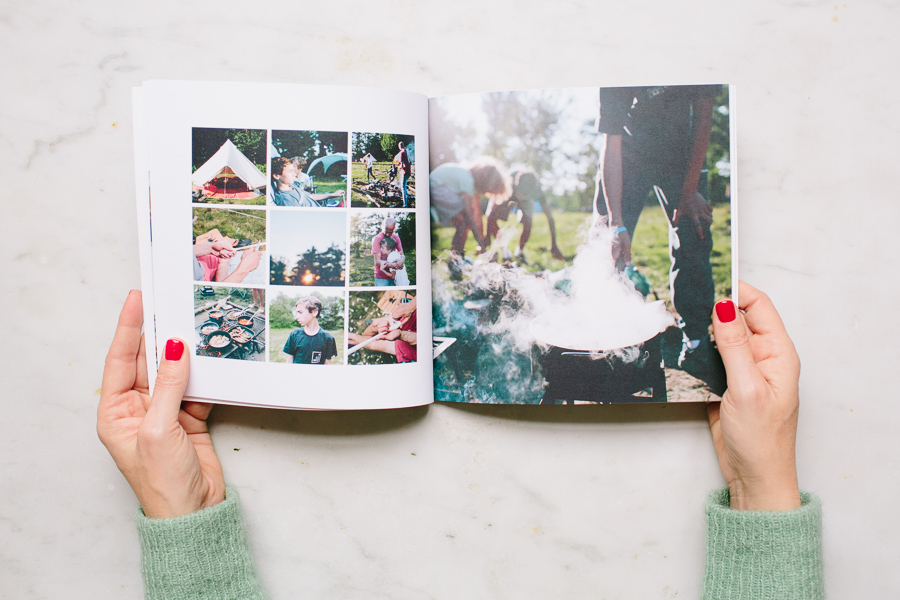
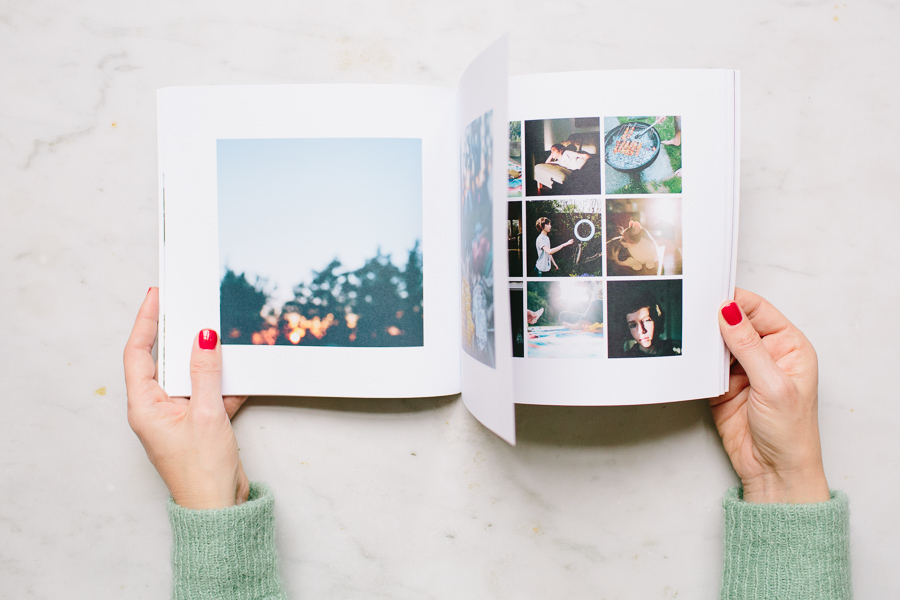
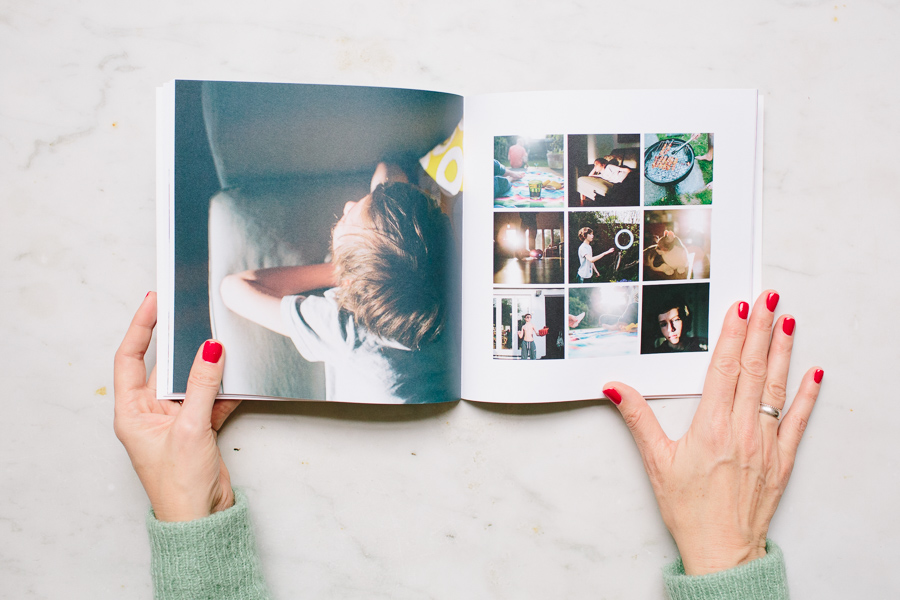
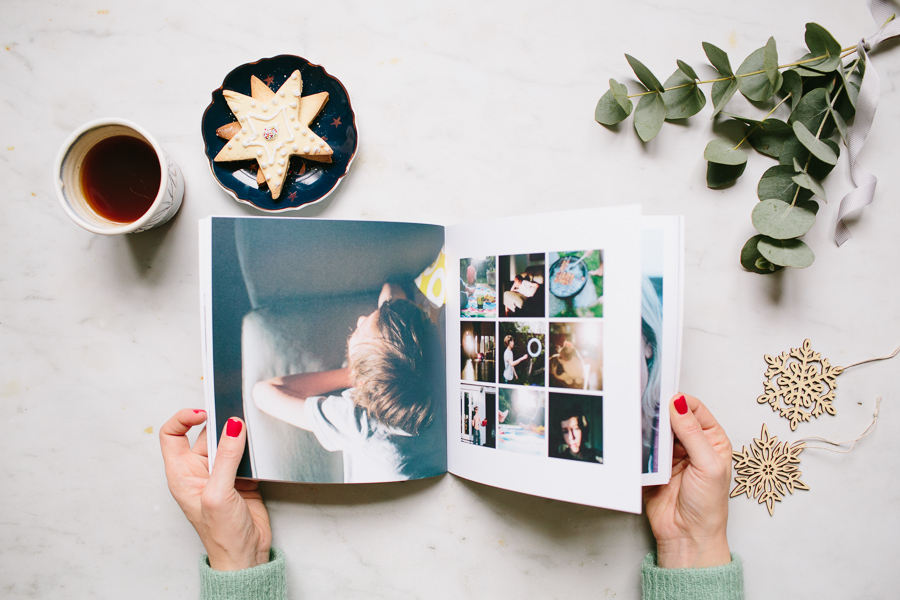
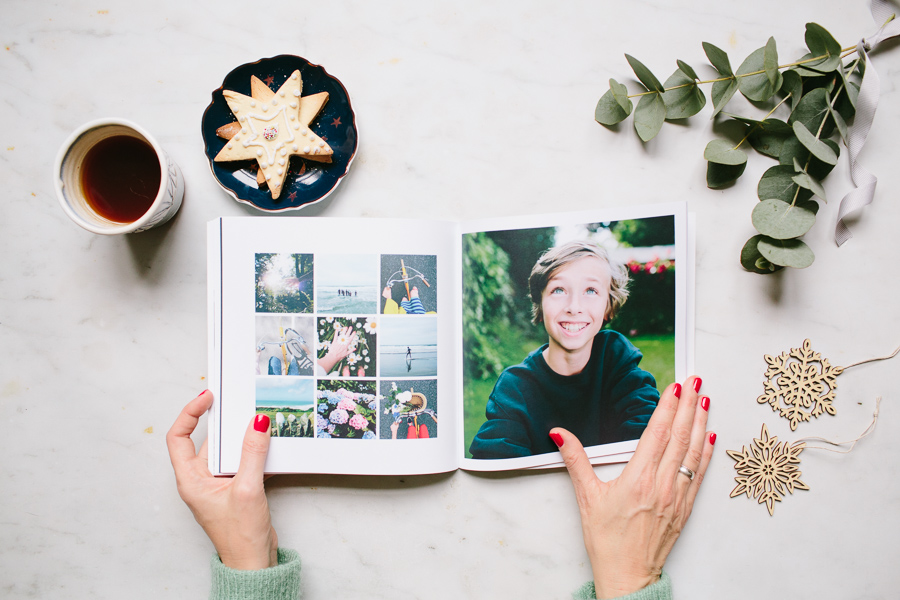
Each spread gives you different options of how to display your photos. You can either work in chronological order, so as you turn each page you see what happened next, by filling the pages with photos over that period of time. Or I like to mix the order of the pages with different events but on each page or spread, I try to have photos from a similar time or that work together in terms of their composition or colours. For example I've put all my camping trip photos in the grid and picked one hero shot to be displayed larger on one side. I've done this with other pages as well. I like choosing one large photo to stand out and the smaller photos have more details of that occasion.
There's a bit more freedom if you don't work in chronological order as you can be driven by how the photos work together. But telling a story of an event or even the changing of seasons as you work through the year, could be really fun.
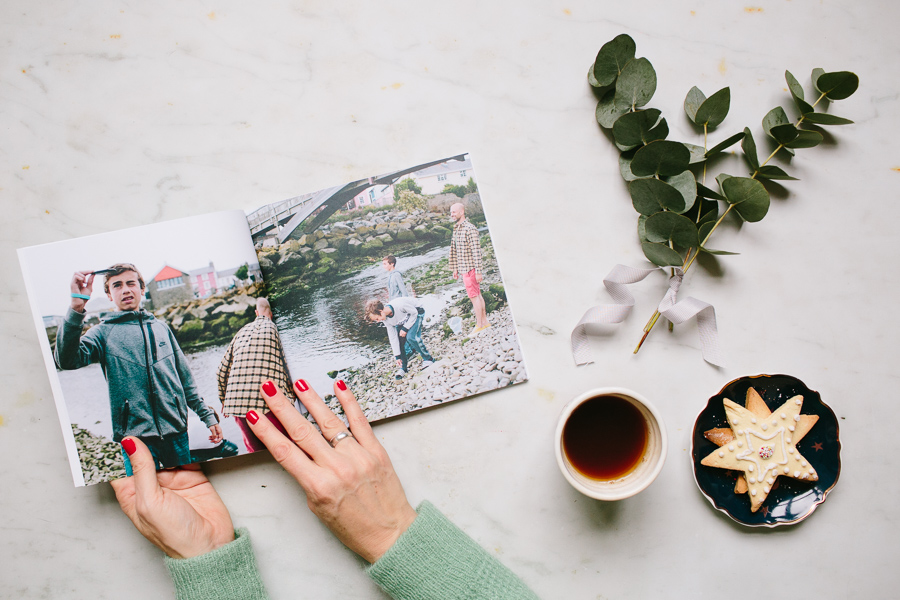
Pick your favourite photos to do a full bleed image on a double page spread. This can make a big impact in book. I like how a collection of photos tell more of a story. Some of the spreads have multiple squares which you can fill with mini memories.
Keep going
- Till you've filled all the pages. It's so lovely to start to see it flow and the book come together. Once you've used all the photos you can squeeze in. Save and you're done!. Sit back and relax as you wait for your book of memories to arrive. Something you will treasure for years to come.
I love my book and I'm hooked on this way of telling a story with all my photos. I can't wait to make more books!
A huge thank you to Xanthe for sharing her tips and photography with us. You can keep up to date with Xanthe's brilliant work through her Instagram - @xantheb and site.
